How to Make A Kids’ Art Display in 4 Easy Steps
If you’ve got kids, then you probably have the same problem as most of us. What to do with all that art? It can quickly take over your counters, your fridge…your entire house! Today I’m going to show you our solution to the kids’ art dilemma. Read on to find out how to make a kids’ art display of your very own in just 4 easy steps.
There are a lot of ideas out there for displaying your children’s art, and we’ve tried a few of them here and here. We’ve even gone the art on the fridge route for a while. However, I’m ready for something that feels a little more permanent and that holds the art in place a little more firmly. Sliding fridge art is not for us!
Step 1: Prep The Space
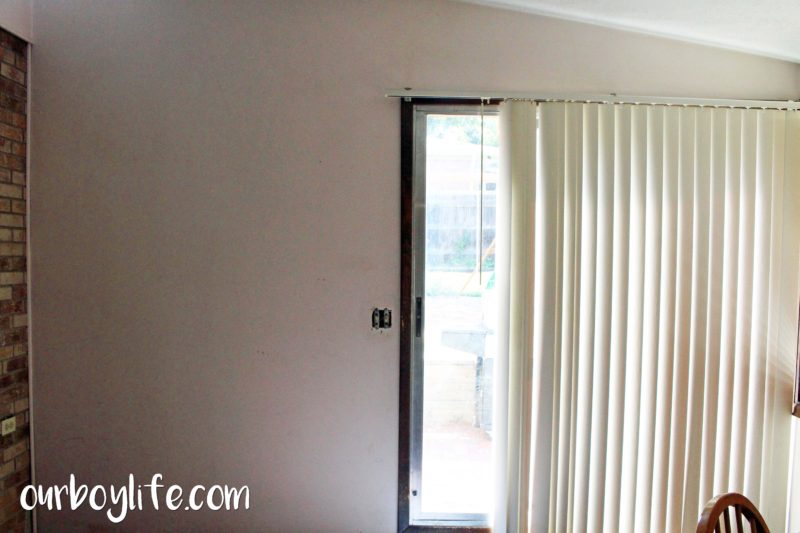
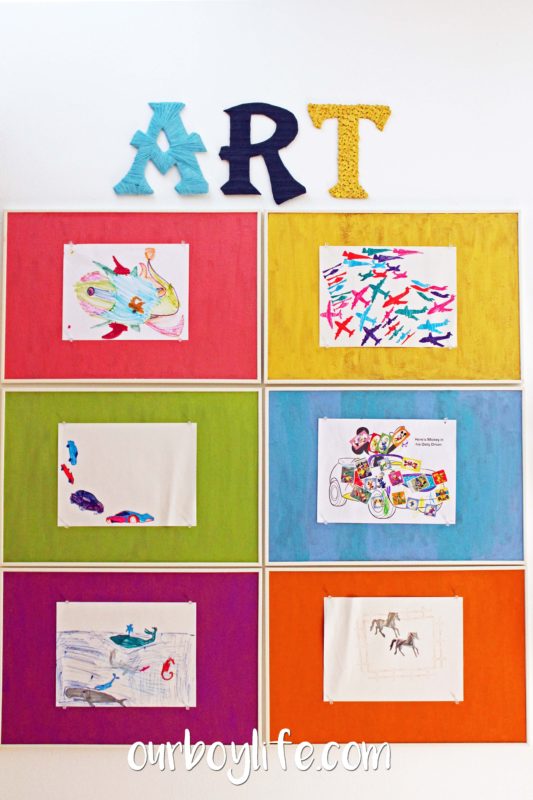
This wall in our sun room was calling out to me. So I painted it white and got to work putting together the perfect place for all those works of art.
Step 2: Paint The Cork Boards
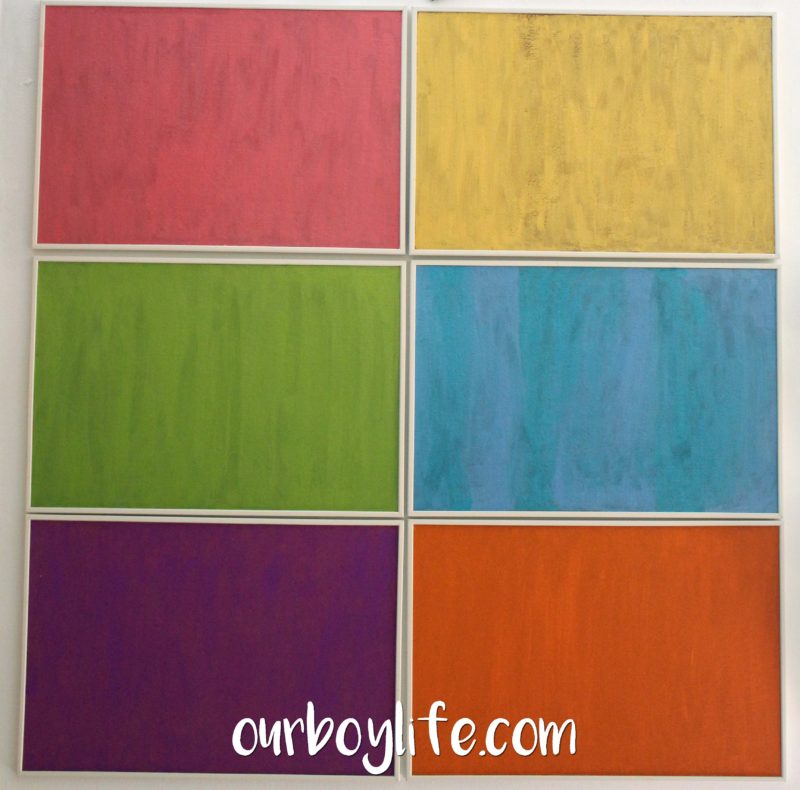
To start your kids’ art display, take some plain cork boards and paint them different colors. You can use as many or as few cork boards as you’d like. I used acrylic paint on my 6 cork boards which I found at IKEA. They were a steal at only $5.99 each for a total of around $30. I used paint we already had.
Step 3: Add An “ART” Sign
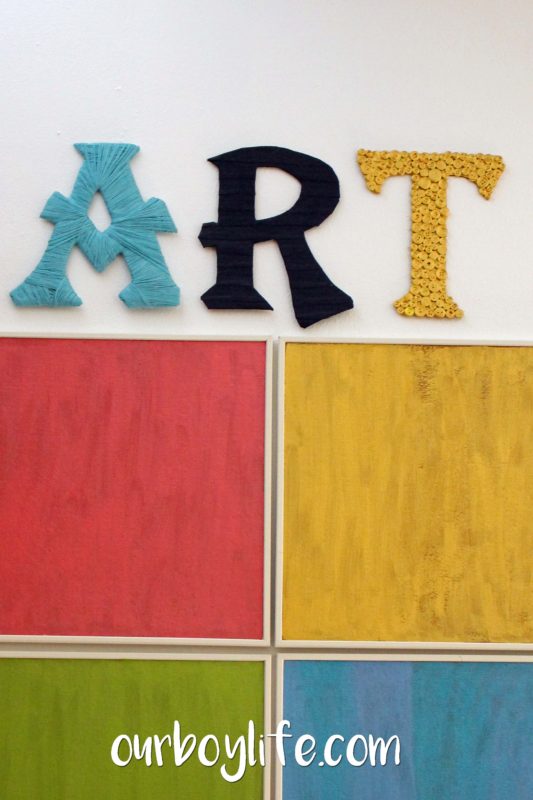
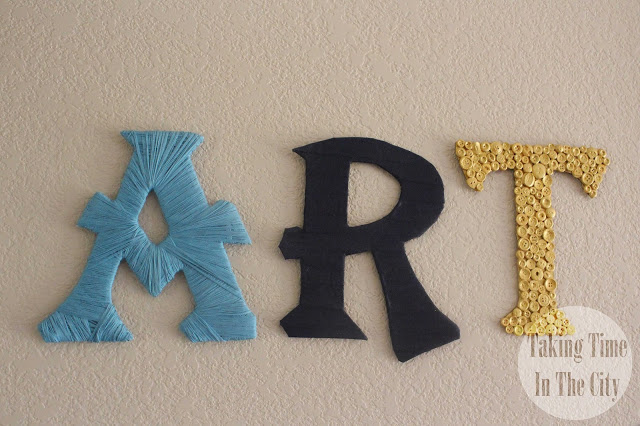
I added this sign that I made for an art display in our previous house. You can see how I made it here. I used things from around the house, so you could make it for no cost if you have the supplies.
Step 4: Add Some Art
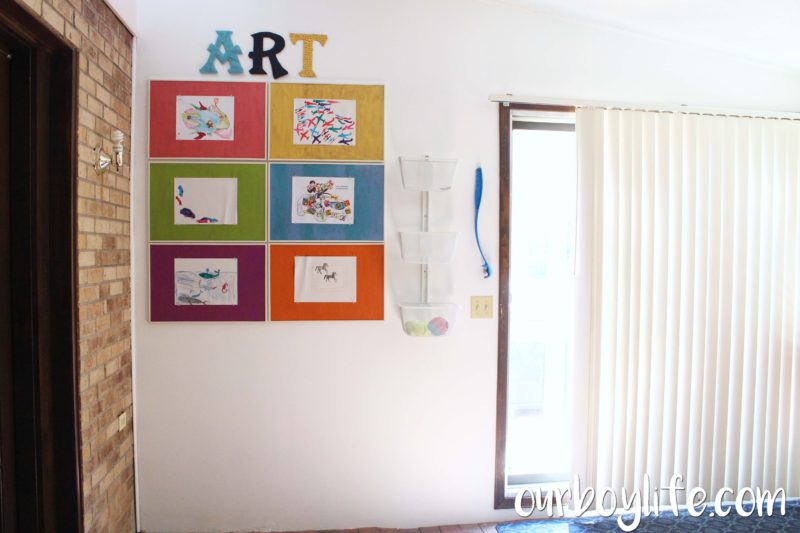
I added some art to finish it off. There’s plenty of space for more art and it all stays firmly in place with the us of pushpins.
TIP: To preserve the art, don’t actually push the pushpins through the paper. You can easily place the pushpins on the edges of the paper to hold it to the cork board. You will probably need to use 4 pushpins when using this method.
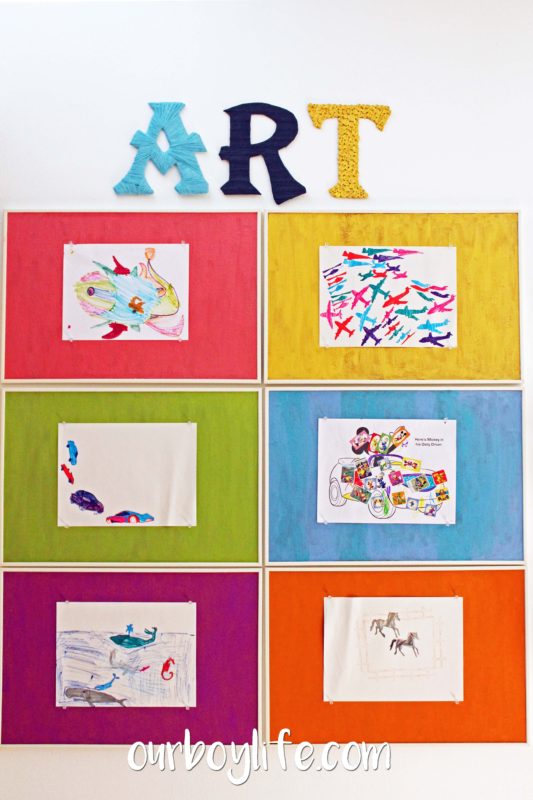
The colors frame the artwork nicely, don’t you think?
If you make your own kids’ art display using this method, I’d love to see it. Find me on social media and send me a picture!
