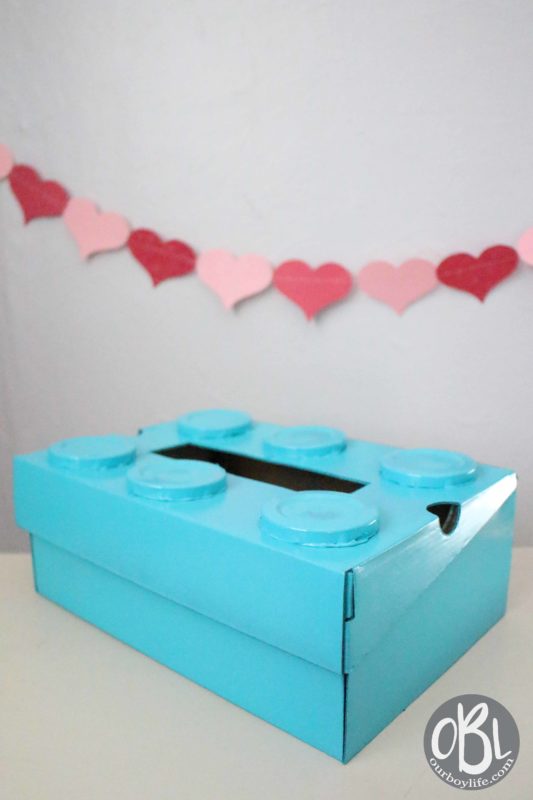
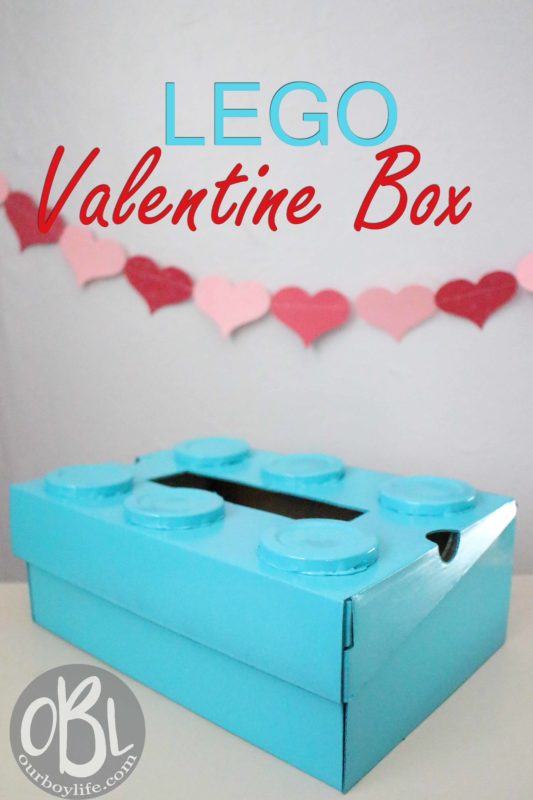
How to Make an Easy LEGO Valentine Box
The first time one of our boys needed a Valentine box I was so excited! I searched Pinterest for ideas. We spent all kinds of time on his box. Now, a few years later I can’t even remember for sure what we did for that first box! I imagine he doesn’t remember either, so why spend too much of our time making something we’re going to forget? Simple is our new motto, so today I’m going to show you how we made an easy LEGO Valentine box.
Supplies
- Shoebox (ours had the lid attached)
- Six plastic disposable cups
- Craft knife
- Hot glue and hot glue gun
- Spray Paint (be sure it will cover plastic)
- Large Permanent Marker
How to Make an Easy LEGO Valentine Box
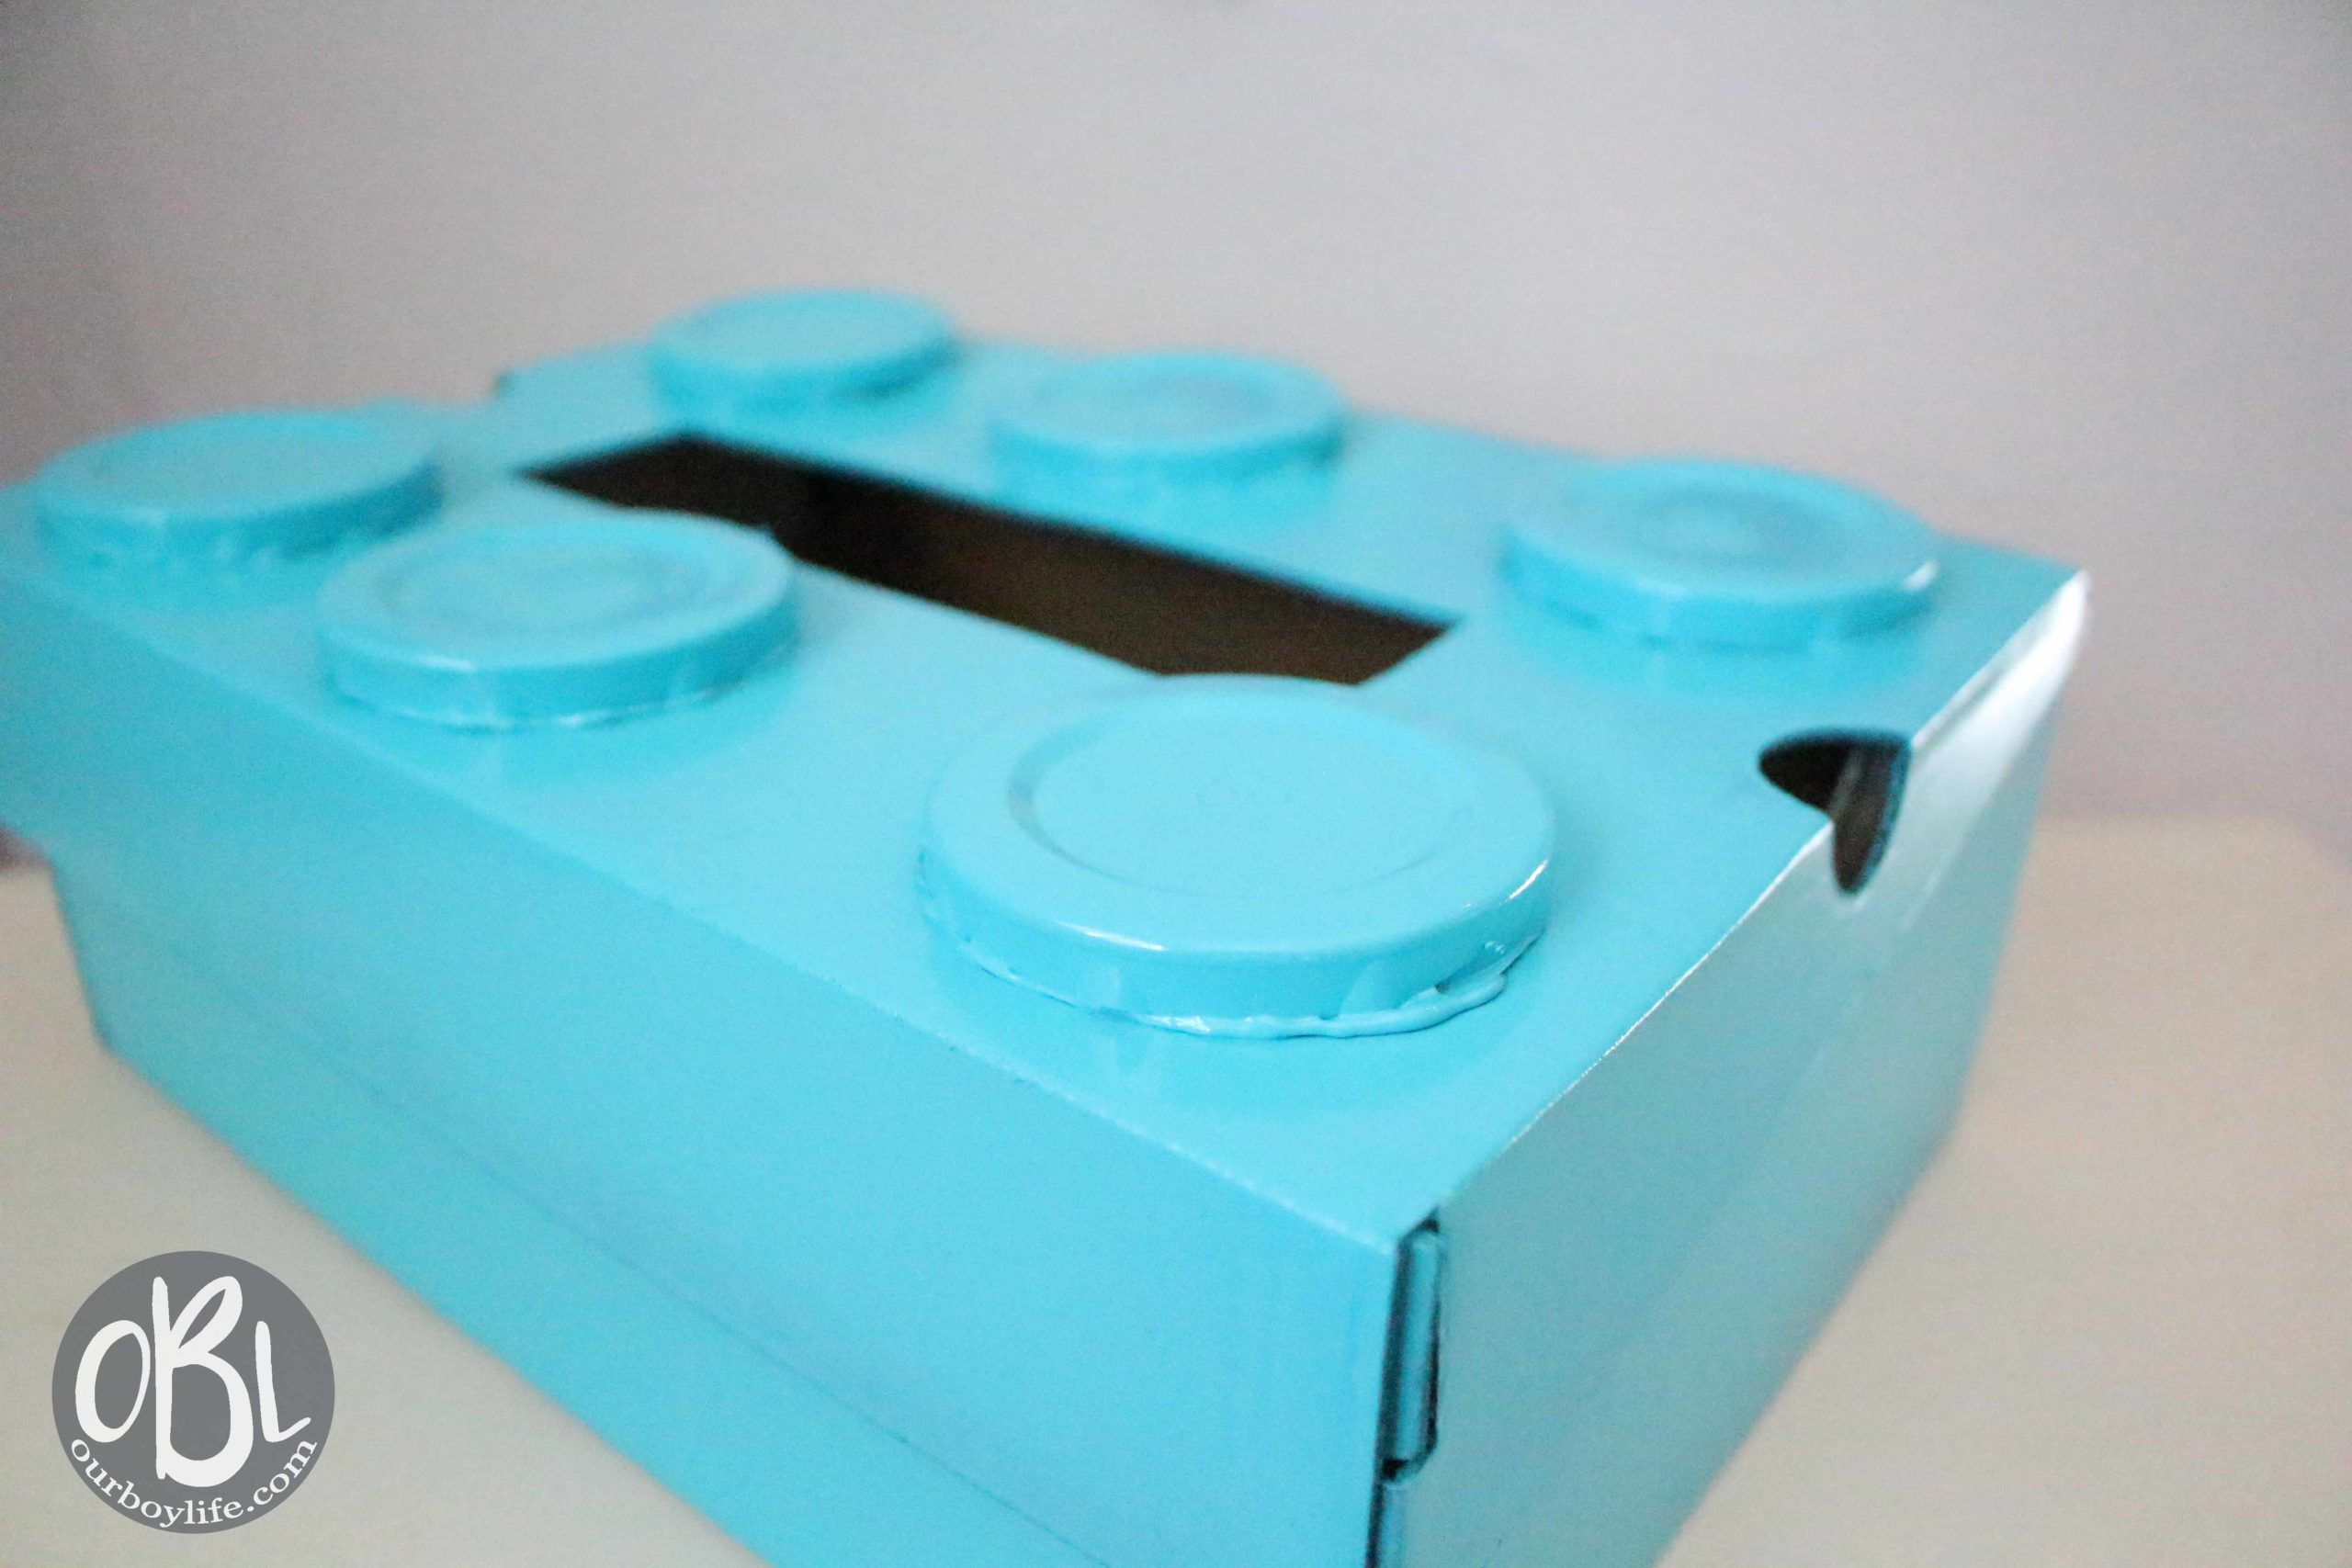
Step 1: Cut the LEGO studs
Start by cutting the bottom off the six disposable cups using the craft knife.
You choose where exactly you want to cut the cup depending on how tall you want your LEGO studs. We chose to cut right above the first “ledge” of the cup when holding it upside down. I like this lower profile look versus a higher LEGO stud.
OTHER OPTIONS:
- Use puffy paint to spell out LEGO on each stud. I decided not to go that route, but I saw the idea here. It DOES look pretty cool.
- Use heavy cardboard tubes for the studs and cover them with duct tape.
- Cut cardboard circles and stack them together to form the studs.

Step 2: Cut the slot opening
Cut the slot in the top of the box using the craft knife.
I measured and marked my slot with a marker before cutting, but you could totally wing it and estimate where you should cut. I just like to have a clear plan. Be sure to leave plenty of room for the 6 LEGO studs.

Step 3: Glue the LEGO studs
Glue the cup bottoms onto the lid using hot glue spacing them out evenly. I suggest placing the studs before actually starting to glue them to the box. Getting the studs in place would be a great job for your kiddo!

Step 4: Spray paint
Take your box to a well ventilated area and spray paint it following the paint manufacturer’s instructions.
HINT: If you are using a box with an attached lid like us, open the box and place it face down to paint it.
OTHER OPTIONS:
- Wrap in paper: You could wrap the box and LEGO studs with wrapping paper or even construction paper if spray paint isn’t your thing. Check out that idea here.
- Acrylic paint: This probably isn’t your easiest option, but I think you probably could paint the LEGO Valentine box with acrylic paint. I imagine it would take several coats though.

Step 5: Add your child’s name
Simple is the name of the game for us, right? So I just grabbed a big marker and wrote our 5 year old’s name on one side of the box real quick. If you’re not crazy about the idea of writing the name, here are a few other ideas:
- Print your child’s name in large letters, cut them out, and glue them to the side of the box.
- Use letter stickers to spell out your child’s name.
- If you have a Silhouette or Cricut type machine you could use that add your child’s name.
Decorate Your Box (Optional)
You could add fun valentine stickers or cut out hearts to glue on the the box. This is totally optional and not something we decided to do, but some kids may enjoy adding decorations. It would be a fun way that kids could participate and make the box their own.

Make This Easy LEGO Valentine Box Together
Since this was such an easy LEGO Valentine Box, our 5 year old was able to help with all but cutting the cups and the slot in the top of the box. It was nice that he was able to participate in making his box. Keeping it simple and easy has it’s advantages!
Tips for Making This Box Together
- Safety first! The cutting portions of this project are definitely not a job for a young kid. I also didn’t really want him hovering over me while I was trying to cut the cups and top of the box, so I completed these steps while he was busy in another part of the house.
- Find Jobs They Can Do. Spacing the the studs out is a good job for a little guy in particular. Let your child help figure out where the studs should go before you start with the hot glue. Hot glue is, well, hot, so use caution when performing this step with your kids.
- Let Them Watch. A lot of times it’s all about experiencing something together. You may not be okay with your kid using spray paint, but letting them watch you spray paint still allows them to experience the process.
5 Short Steps Review
5 steps for making this easy LEGO Valentine Box:
- Cut the LEGO studs from the disposable plastic cups.
- Cut the slot opening on top of the box.
- Glue the LEGO studs making sure to space them appropriately.
- Spray paint the box. Be sure to turn it upside down if the lid is attached like ours.
- Add your child’s name to the box.
This Valentine Box is probably one of my favorite boxes from over the years! It was super easy to make, and we made it using items from around the house for the most part. The only thing we had to buy was the spray paint, and Reed enjoyed getting to pick that out. I really thought he’d choose green (and he almost did), but then he spotted this bright blue. It’s fun and bright—just like him!
Other Valentine’s Day Ideas
Looking for more Valentine’s Day ideas? From kids’ school Valentines to Valentine’s Day photos, we’ve got you covered here at Our Boy Life. Just click below to browse through some our past posts.
![Valentine A Day [14 Days of Valentines]](https://ourboylife.com/wp-content/uploads/2018/02/Valentine-2BA-2BDay-2-1.jpg)